The Water Cycle In A Baggie – An Easy Science Project
Have you ever made the water cycle in a baggie? Kids love it when they get to do a hands-on learning project. And the great thing is, making the water cycle in a baggie is probably one of the easiest science projects you’ll ever do!

In this post, I will share some water cycle activities and walk you through how to make the water cycle in a baggie. Give it a try. Your kids will love it!
This easy project lets kids see the water cycle in action.
Water is precious. It supports life. Whether you are teaching the water cycle on its own or as part of your weather unit, it’s important that kids understand how water works. This easy water cycle project lets kids observe the water cycle in a simple and easy-to-explain way.
Want to make the water cycle in a baggie?
This science project is easy, but you will need a few supplies. You probably have them already, but if not, you can easily get them at any grocery store. Go ahead and gather the supplies.
- A gallon-sized plastic bag
- Water
- Blue food coloring
- A permanent marker
- Packing tape
- A sunny window or a hairdryer (low heat)
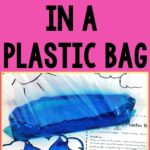
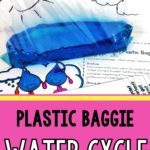
Step #1 – Draw the water cycle on your baggie.
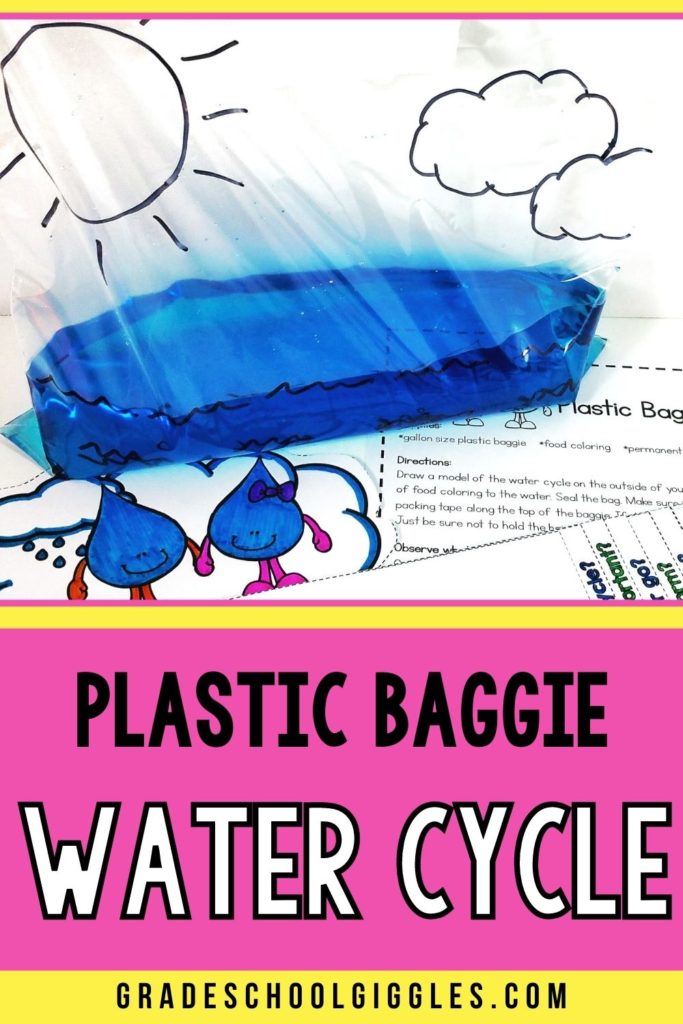
Using a permanent marker, draw a simple model of the water cycle on the outside of the plastic baggie.
Step #2 – Add water to the baggie.
Next, add about 2 inches of water to the bag. The exact amount isn’t important, so there is no need to measure it. Then, add a few drops of blue food coloring to the water. The food coloring makes it easier to see the water move through the water cycle, but it’s not absolutely necessary either.
Finally, seal the bag. Make sure it’s totally closed. I also like to tape over the top edge of the bag to strengthen the seal.
Step #3 – Observe the water cycle in a baggie.
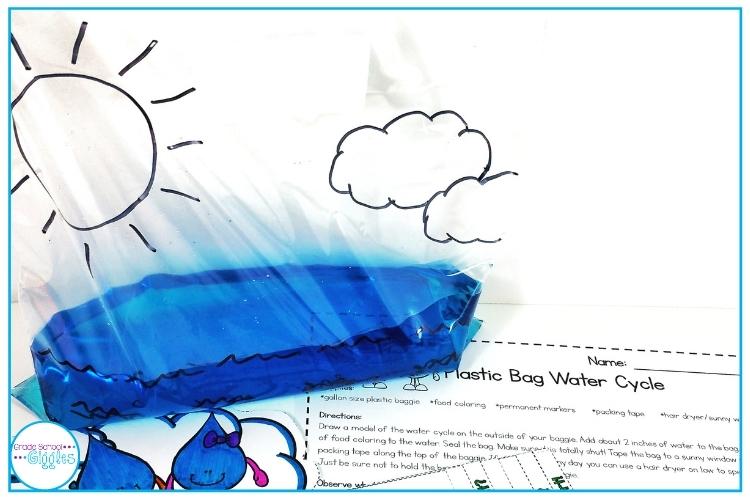
Next, use a strip of packing tape along the top of the baggie to hang it onto a sunny window. (If it doesn’t seem secure, tape around all the edges.) Now, you should be able to observe the water cycle in your baggie. If you aren’t seeing evaporation, condensation, and precipitation, your baggies may not be getting enough sunlight. In that case, you can use a hairdryer on LOW to speed things along. Just be sure not to hold the hairdryer too close and keep it moving. You don’t want to get your baggie too hot or melt it!
What’s the science behind this project?
The plastic bag acts as a container to prevent the water from escaping and allows you to observe the water as it changes states. The blue food coloring makes it easier to see the water. As the sun (or hairdryer) warms the water, some of the water will turn into water vapor and evaporate. This is the evaporation portion of the water cycle.
The water vapor rises above the water level in the bag. The rising water vapor increases the humidity level of the air in the bag. As the humidity increases, the air in the bag becomes saturated. Some of the water starts to form water droplets. You will see them on the top and sides of the bag. This is condensation.
As more water vapor condenses, the droplets will grow. Soon they will get too heavy to stay up and will start to roll down the bag. This is precipitation. The droplets will make their way back to the water at the bottom of the bag, and the cycle will repeat.
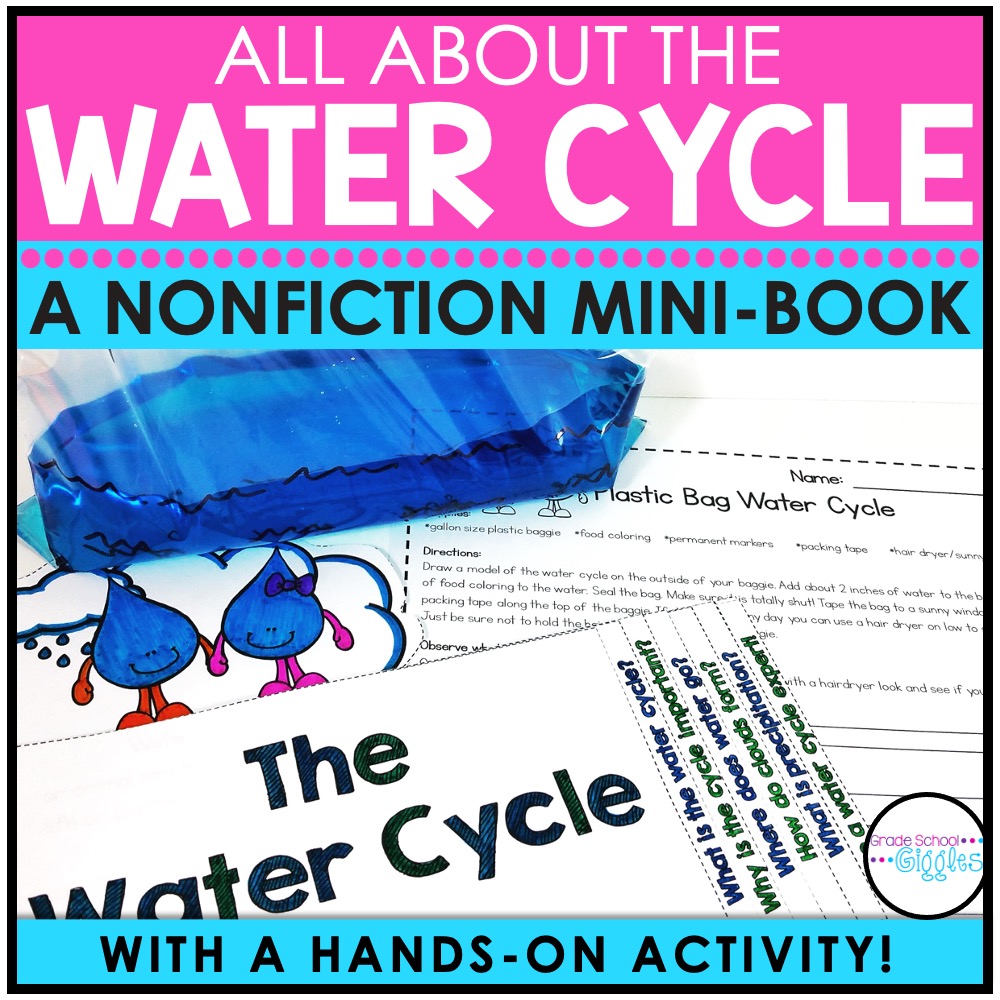
Do you need quality resources to teach about the water cycle?
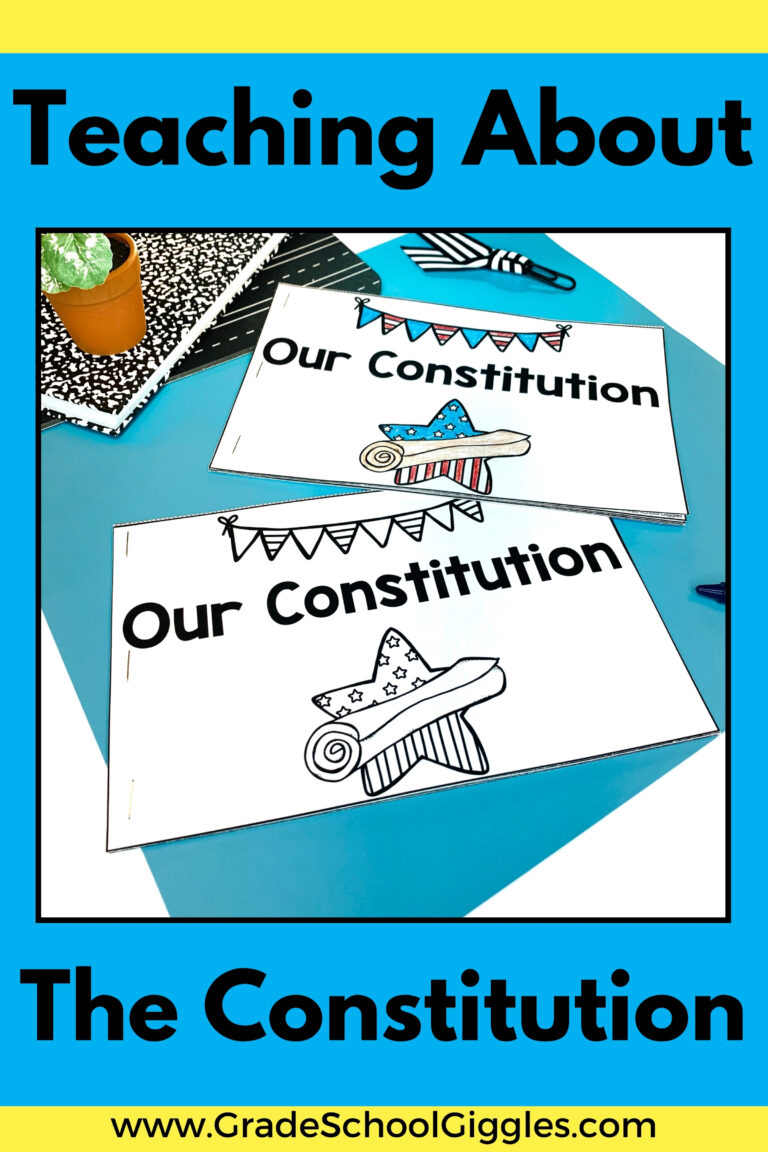
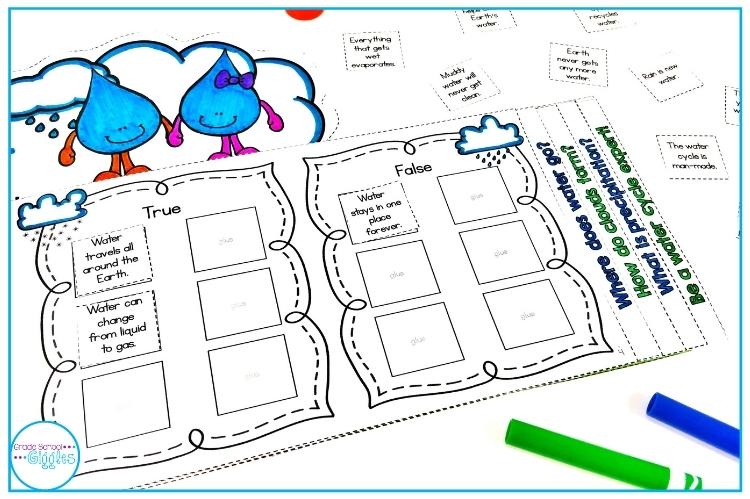
This water cycle mini-book explains the water cycle with bite-sized chunks of kid-friendly text and interactive activity pages that keep kids engaged. It introduces the water cycle and answers important questions.
- What is the water cycle?
- Why is it important?
- Where does Earth’s water go?
- How do clouds form?
- What is precipitation?
- What types of precipitation are there?
Shop This Post
Low-prep, highly informative. Great.
⭐ ⭐ ⭐ ⭐ ⭐
Try it in your classroom.
Hopefully, making the water cycle in a baggie will be as much of a hit in your classroom as it was in mine. It’s a super easy hands-on project. You can make one for each student or for each group. Give it a try, and let me know what you think.
Get FREE printable directions and more weather activities!
Would you like printable directions for the water cycle in a baggie and more hands-on weather activities? Simply, enter your personal email below. (Many schools block outside emails with attachments.) Then, I’ll send you the FREE weather printables!