Hands-On Activities for Teaching Landforms
Landforms are one of my favorite topics to teach. There are so many opportunities for hands-on activities. It’s great!
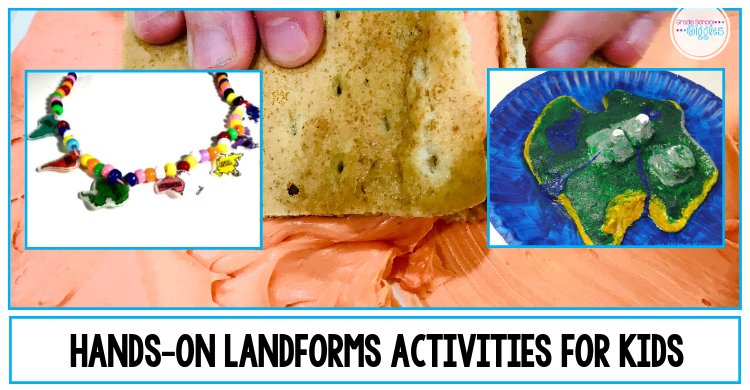
In this post, I’ll share some hands-on activities for teaching landforms that’ll engage your students while building their understanding of landforms.
Landforms Activity 1: Make Earth Layer Beads
A basic understanding of the Earth’s layers is helpful background knowledge for learning about landforms. This project is perfect for providing a very basic overview.
You’ve probably seen models made out of different colors of play-dough. This project is similar to that classic activity, but it uses polymer clay so that the model can be made into
*This blog post contains affiliate links.
Materials
- 5 colors of polymer clay: hot pink, orange, yellow, blue, and green
- Toothpick
- Oven
- Baking tray
- Knife
- Strong string or dental floss
- Plastic beads
Directions
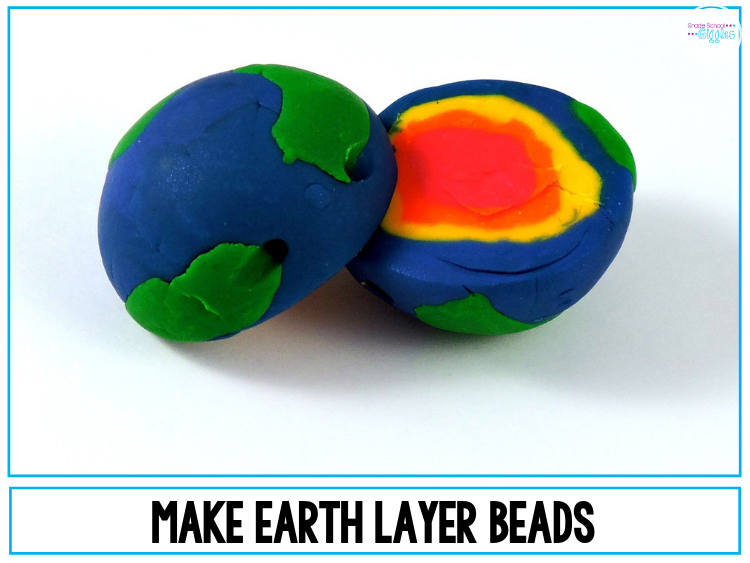
First, roll small balls of hot pink clay. Then, flatten small pieces of orange clay and stick them all over the outside of the pink ball. Roll the ball until it’s smooth again.
Repeat the process with yellow clay and finally with blue clay. Once you have smoothed out the blue layer, add a few pieces of green, being careful not to cover all of the blue clay. Roll the ball smooth one last time.
Then, carefully cut each “Earth” in half. Finally, push a toothpick through the top of each half of the “Earth” to make beads.
Bake the beads at 275 degrees Fahrenheit for about 20 minutes.
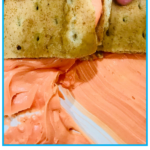
Landforms Activity 2: Graham Cracker Tectonic Plates
Most landforms are made over a very long time through slow processes: tectonic plate movement, weathering, and erosion. Other times landforms are created by sudden events like earthquakes or meteor strikes. This activity is great for introducing kids to how landforms are created.
Materials
- Graham crackers
- Paper plates
- Orange or red frosting
- Cups of water
- Eye-droppers
- Marbles
Directions
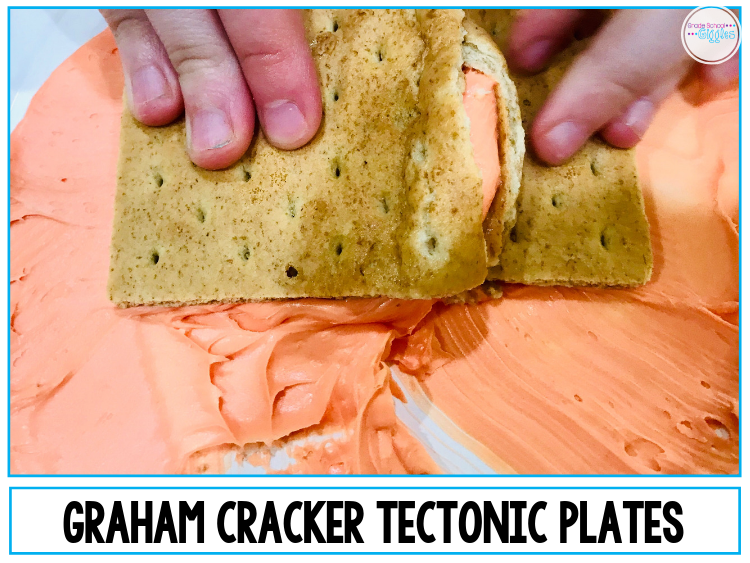
Give each kid two graham cracker halves and a plate covered in a thick smear of icing. (The icing represents the molten rock in the Earth’s mantle, and the graham crackers represent the tectonic plates.)
Next, direct the kids to imitate different types of boundaries.
- Transform Boundaries: Move the crackers back and forth against each other.
- Divergent boundaries: Pull the crackers apart.
- Convergent boundaries: Quickly dip the adjacent edges in water and push the crackers towards each other.
You could stop here, but I also wanted to introduce weathering, erosion, deposition, and sudden events.
If you’d like to as well, give each student an eye-dropper and a cup of water.
Have your students pick one spot on their graham cracker mountains and squirt water on it until they see the mountain change. Talk about how landforms change from weathering, erosion, and deposition.
Discuss how these events usually take place over a very long time, but sometimes sudden events can create landforms too. Brainstorm examples like volcanic eruptions, landslides, earthquakes, and meteor strikes.
Then, let the students drop a marble onto their graham cracker. Explain that this marble represents a meteor. Talk about the craters the marbles make.
Landforms Activity 3: Continents Necklaces
Do you remember playing with shrink film as a kid? Now they make sheets that you can print on with an inkjet printer. It’s awesome!
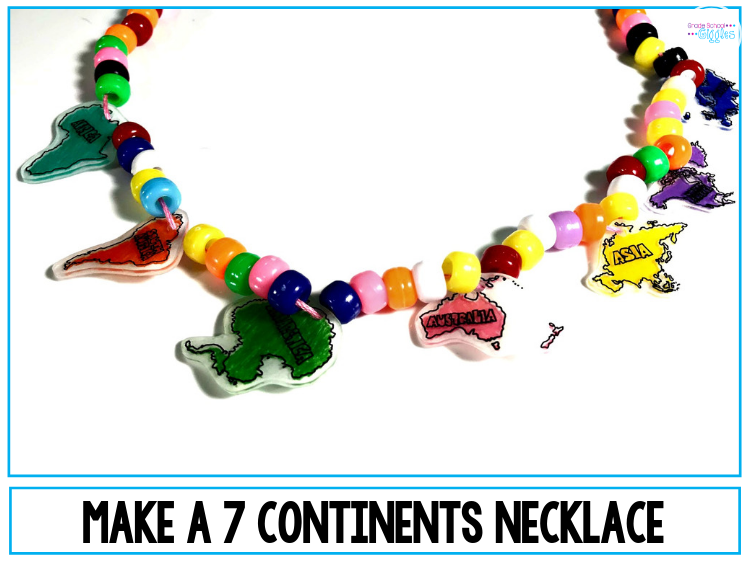
We made these adorable necklaces with shrink film and pony beads. (The necklaces are great for getting kids to review the continents because they’ll want to show off what they made.)
Materials
- Shrink film paper for printers
- Inkjet printer
- Colored pencils
- Baking sheet
- Oven
- Scissors
- Single hole punch
- Continents template
- Plastic beads
- Thick string or dental floss
Directions
First, print the continents templates onto the shrink film. (Heavy cardstock is a budget-friendly alternative.)
Next, use colored pencils to color each continent. (Color on the rough side.) Then, cut them out on the dotted lines and punch a hole in each one.
Finally, set the continents on a baking tray and bake them according to the directions on the package of shrink film.
Once they’ve shrunk, make the necklaces.
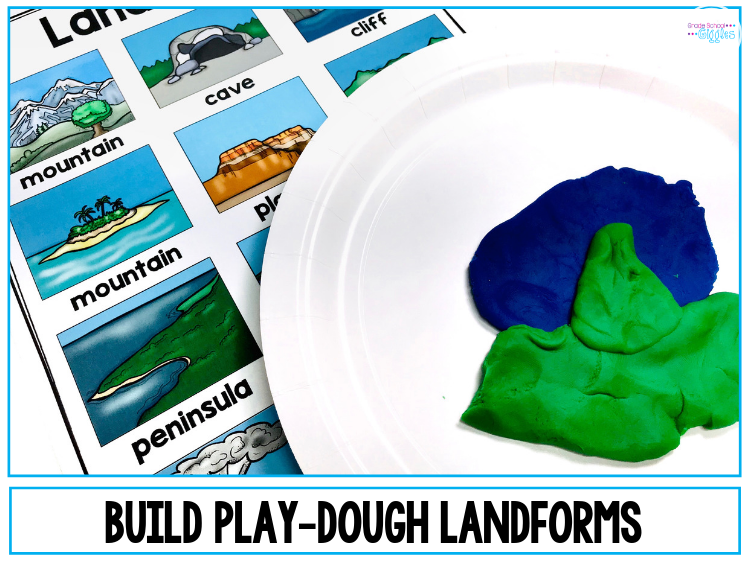
Landforms Activity 4: Build Play-Dough Landforms
Play-dough is such a versatile tool in the classroom. Building landforms
Materials
- Landforms and bodies of water posters
- Multiple colors of play-dough: blue, green, brown, yellow, etc.
Directions
After introducing the different types of landforms with your class, set up a center by hanging up a landforms poster and setting out the play dough. Challenge your students to make models of the different types of landforms.
Helpful hint: Encourage them to try not to mix up the colors of the dough, but have extra play-dough to swap it out between groups if you need to. Making homemade play-dough is fairly easy and makes it affordable to swap out the dough as needed.
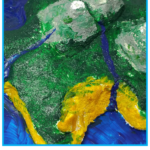
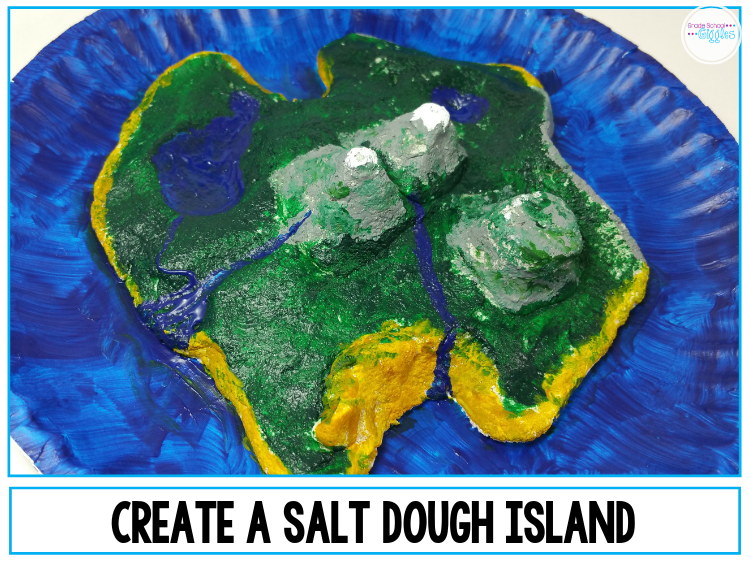
Landforms Activity 5: Design Salt Dough Islands
In this popular culminating project, each kid designs, builds, and paints their own island, including at least 10 different types of landforms or bodies of water. They also create a map and a key.
Materials
- Salt dough (salt, flour, and water)
- Tempera paint and paintbrushes
- Paper plates
- Cups of water (or provide each group with one brush for each color)
- Copies of the map worksheet
Directions
Make the salt dough ahead of time. It will store well in a plastic bag in the fridge for a few days.
When you’re ready to start the project, give each child a paper plate and a large lump of salt dough. Have them build their island. Then, leave the projects out to dry for several days.
Once the projects are dry, pass out the tempera paint and paint brushes. (I recommend giving each small group a paper plate with a squirt of brown, blue, green, and yellow paint and then refill the plates as needed.)
Helpful Hint: Having paint smocks or old t-shirts will protect clothing. My parents sent in an old t-shirt or undershirt at the start of the year. (I kept them in a plastic tub and took them home to wash between uses.) Also, setting FIRM expectations about using the paint appropriately will make this project run much smoother.
After the projects are painted, pass out the blank map worksheets and have the kids complete their map and key.
How Can I Make The Salt Dough?
Salt dough is easy to make. You just need flour, salt, and warm water. The exact recipe and step-by-step directions are in the free printables for this post.
Where Do I Get The Free Printables?
You can get all of the free printables included in this blog post below.
What Other Related Resources Do You Recommend?
Continents Interactive Mini Book (grades 2-3)
Landforms Interactive Mini-Book (grades 2-4)
Landforms Vocabulary Puzzle (grades 2-4)