Simplify Bulletin Boards With Time Saving Tips and Tricks
Nearly every classroom has a bulletin board or two. Plus, teachers are often expected to decorate hallway bulletin boards.
Now, I love a cute bulletin board as much as the next person, but they can be major time drains if you let them. When I first started teaching, I changed them out frequently using the giant rolls of bulletin board paper provided by my school. Then I got smart about it.
Simplifying your bulletin boards will save you time all year long!
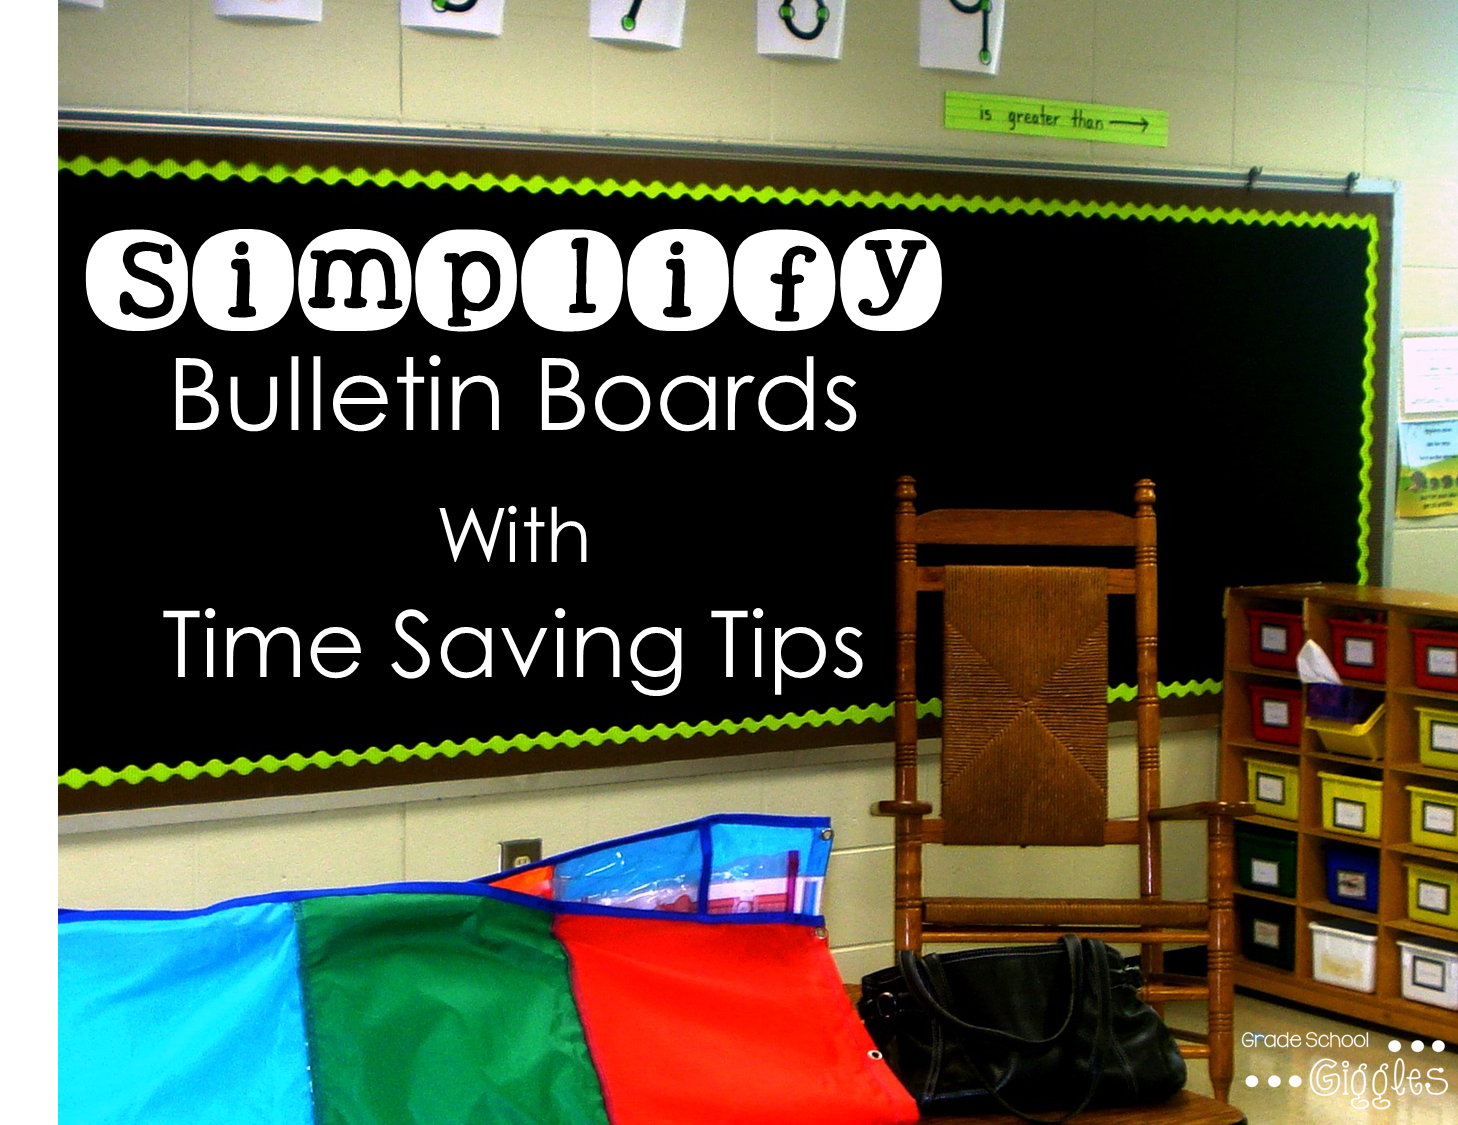
One of the things that made a big difference was using background fabric and trim that would last for the entire year. Fabric is your best friend when it comes to bulletin boards. I love using a basic black cotton fabric. Black goes with everything. I never have to change it, and the fabric will last for several years without showing staple holes or fading. I’ve also been told that marine-grade vinyl is fire retardant if your fire code requires that.
Save time with simple, solid bulletin board borders.
Once my fabric background is up, I use solid color borders. Sometimes I will use one color. Other times I’ve layered them by stapling one color about an inch inside of the actual edge of the bulletin board and then adding another color right at the edge. It creates a fun look, with one color peeking out from behind the other. Changing the trim is easy enough, but I usually get 2 to 3 years out of the borders before they need to be replaced.
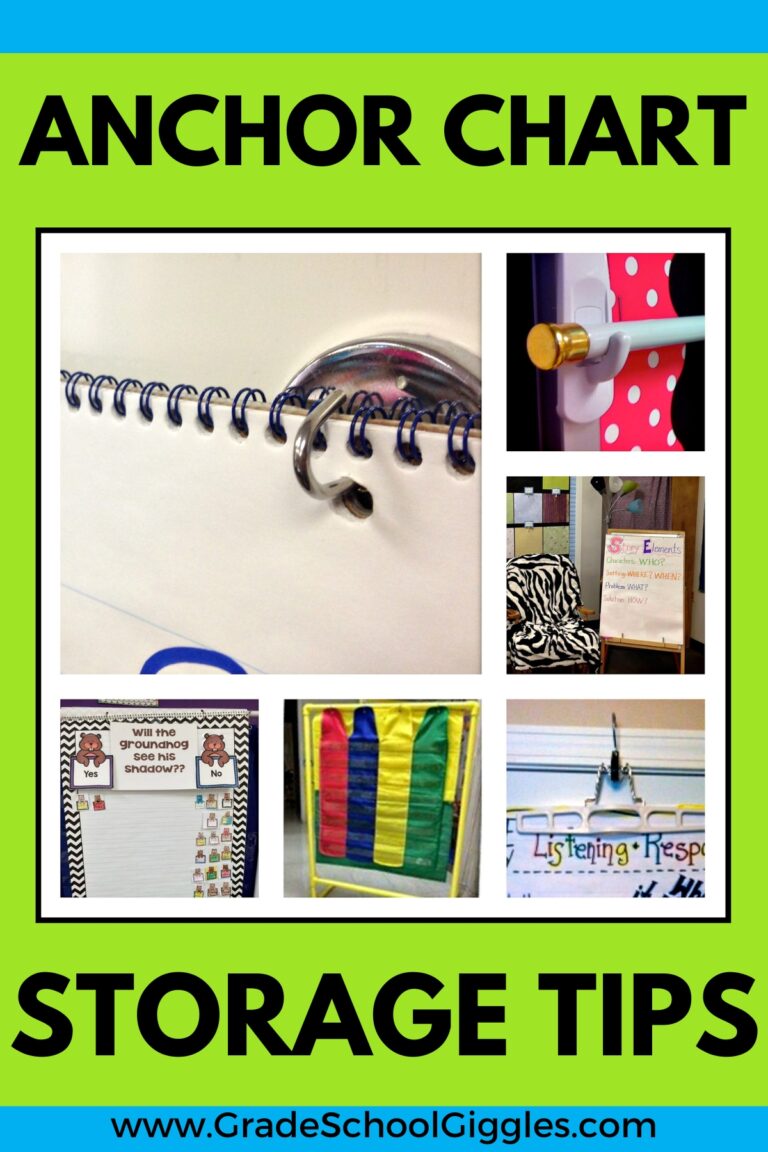
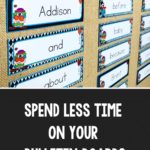
Just switching to using the same background and trim will save you a ton of time, but I also like to take it a step further. I mainly use my bulletin boards to display anchor charts and student work. You can get a ton of ideas on how to display anchor charts in my three-part series – Mastering Anchor Charts. So, I won’t go into that here, but I do have some ideas for easy ways to change out student work.
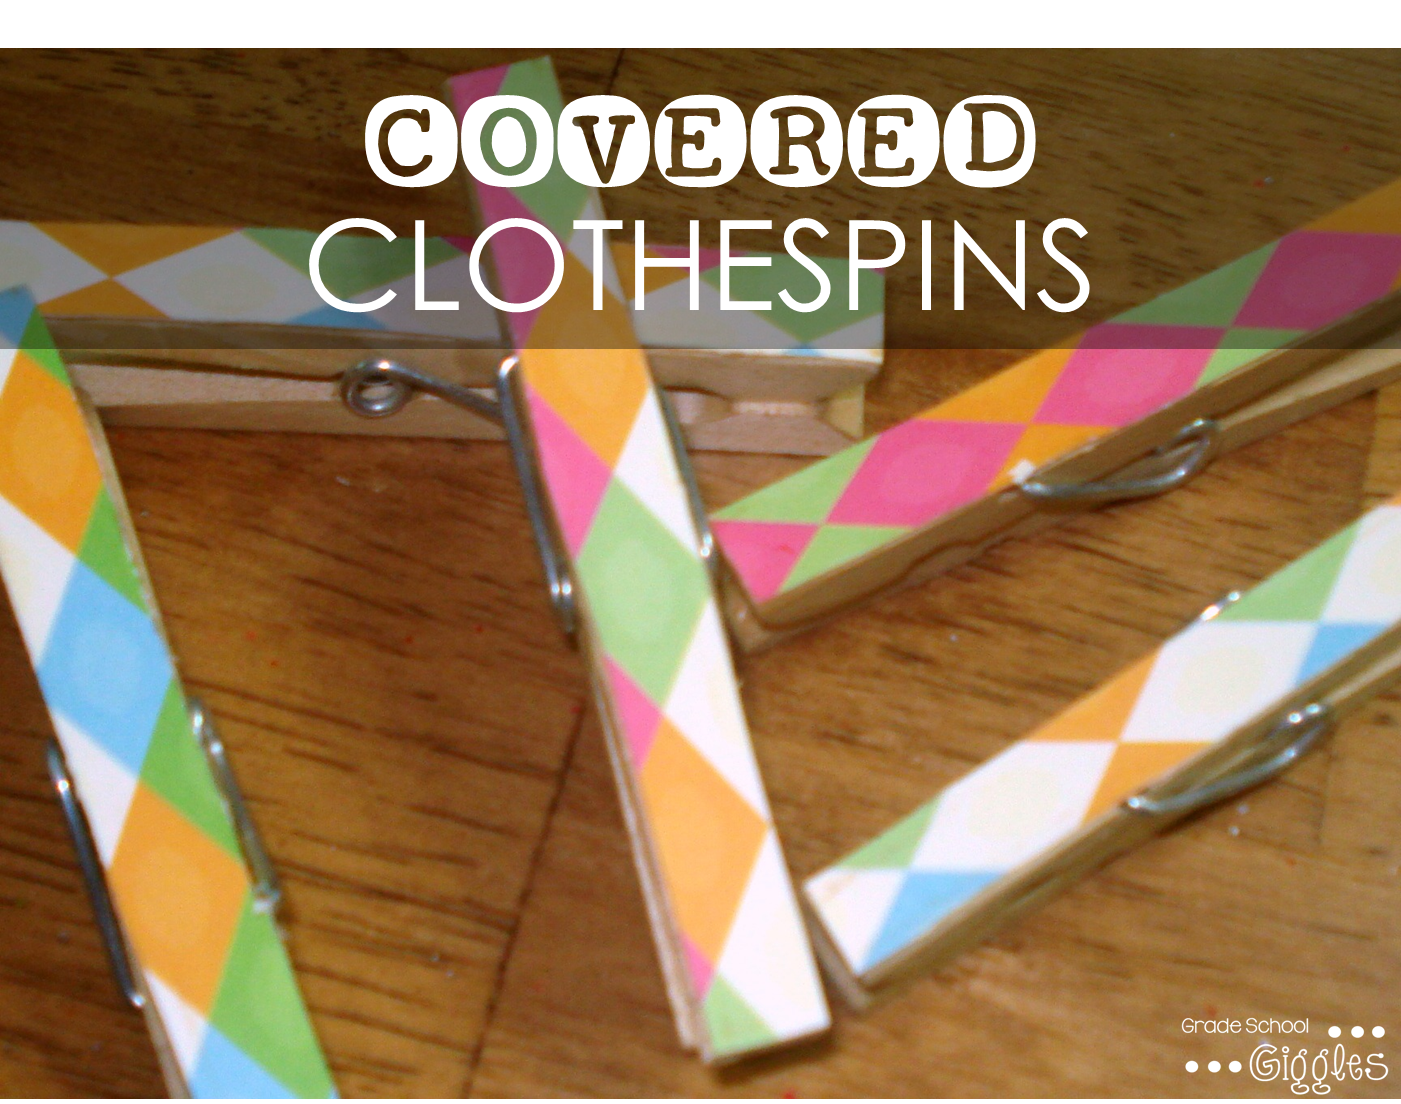
You can slip student work in and out of page protectors that have been stapled to the bulletin board. Staple along the top edge inside of the page protector’s opening. Stikki Clips will stick to the fabric and work fabulously. Also, plain old thumbtacks are way easier to remove than staples. You can even glue them onto the back of covered clothespins and use the clothespins to display student work.


I love using fabric for bulletin boards! In the past, I’ve gotten flat sheets from Wal-Mart. They come in a variety of colors and are only about $5 each. They’ve been a huge time-saver for me!
Theresa @ True Life I’m a Teacher
Sheets would work well too. :)
I love using the clothespins covered with washi tape! It makes things look instantly cute! :)
I hot glued scrapbooking paper to mine, but washi tape would probably be even easier. :)
I use material too. I buy the material that is on sale. I noticed if the material has a TINY design; it shows up as a solid color….optical illusion.
Hi Ana,
A lot of people like a design. It can look great especially if it is a small design like you’re describing.
I use the plastic $1 rectangle tablecloths. No fading, does not tear easy and they last! You can also use them to make great “scrunchy” borders.
Hi Lynn,
Thanks for stopping by. I haven’t tried the scrunchy borders. Those sound interesting.
I had white dry erase boards that I didn’t use, so I turned them into bulletin boards. I bought black contact paper to cover them. They look great and will last forever!
That is a fantastic idea. Thank you for sharing.
I love the fabric idea. Can’t wait to do it my classroom.
Thanks. I hope you enjoy it.
I have made up to four themed boards at a time. I put one on top of the other using tacks in varying spots. That way I just remove the top one and the next is ready to go. I have also let the students create a background. I have two from previous classes that I have laminated and use
for different themes. The students are proud of their work. Parents respond more because of their enthusiasm. I also plan to use the scrunchy idea this year…thank you for this post and the comments . Happy creating.
That’s a great idea. Thanks for sharing it.