Mastering Anchor Charts: Displaying and Storing Anchor Charts
This is the third installment in my series on anchor charts. First, we talked about getting organized and setting yourself up for success. Next, we talked about making easy charts that are reusable, attractive, and effective. Today, we’re talking about making it easy to display, swap, and store your charts. If you’re going to the effort of making an excellent anchor chart why not get more than one use out of it?
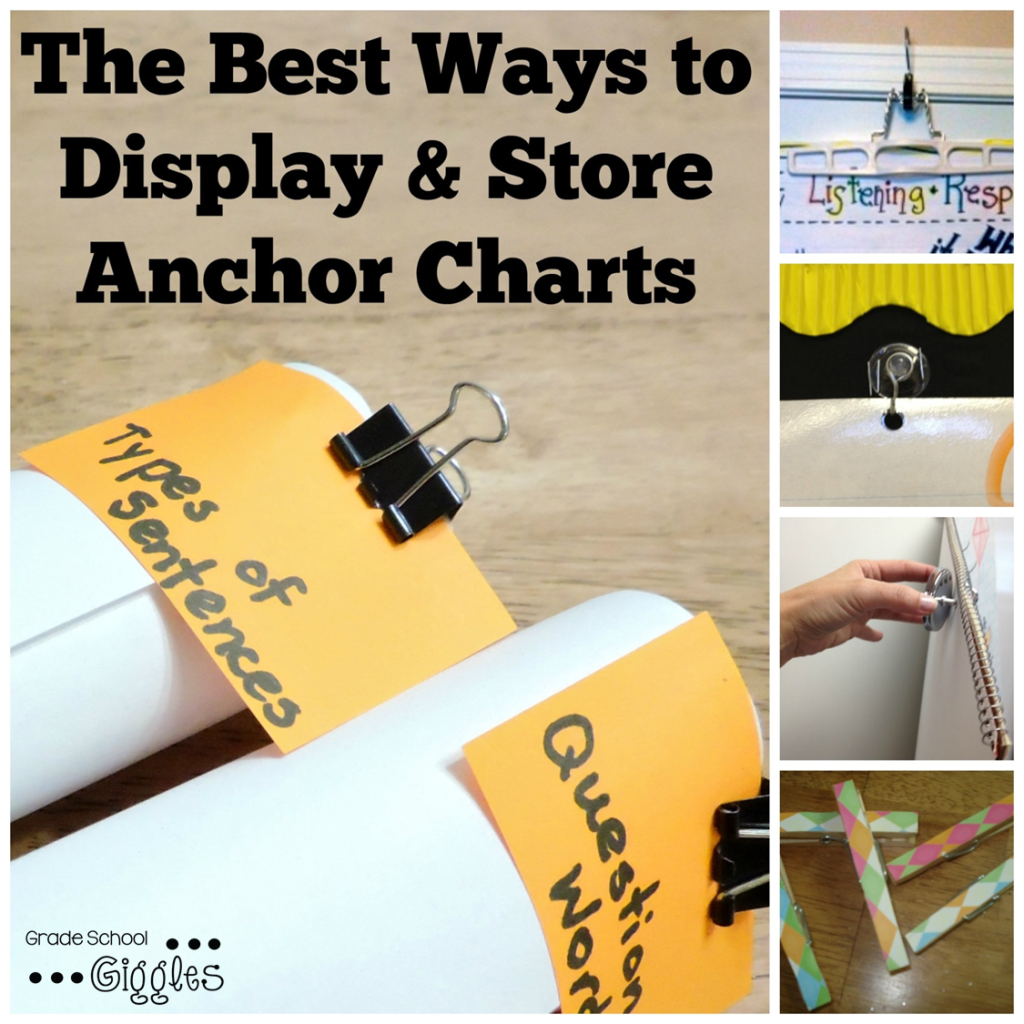
Displaying and Storing Anchor Charts
With just a little planning, you can save yourself a lot of work. You can display them by stapling them to a bulletin board or taping them to the wall, but there are better ways.
*This post may contain affiliate links.
Displaying Anchor Charts on Walls
- Use hooks. Command Hooks are super easy and don’t damage the walls. Use the holes at the top of your chart paper to hang them from the hooks. Just remember that you’ll need to hole-punch through the lamination on any charts that are laminated. If you have a metal surface you can use these magnetic hooks like Marcy from Saddle Up for Second Grade. How easy is that?
- Get fancy with a curtain rod. Set a thin rod on two hooks. Use metal rings to hang your charts from the curtain rod. Add new charts to the rings as you go.
- Hot glue some decorated clothespins to the wall. Your charts don’t even need holes for this method. Add new charts in front. You can attach your charts together with a ring at the top if you want.
- Use a nail or hook and hang your charts with a pants hanger like Sam from Fun With Firsties. You can often get pants hangers for free if you ask parents or stores for donations.
Bulletin Boards
- Decorated clothespins and hot glue work if you use fabric as a background. Paper backgrounds are likely to rip too easily. Just attach the clothespins to the top of your board and make sure your background is well secured.
- Use pants hangers and a hook attached to the cloth background or the top edge.
- You can staple suction cup hooks to a bulletin board like Christina from Apples, Books, and Crayons. This would work with paper backgrounds too. With this method, you can easily move your hooks if you want to change your bulletin board set up. Love that!
- I like to dedicate spaces for my charts ahead of time. Once I’ve decided how I will display them, I frame out the area by making a rectangle of bulletin board border around where the charts will hang. It really makes them pop.
Storage
I don’t want all of my charts out at the same time. That would be totally overwhelming. The size of the charts can make it tricky to put them away, but I’ve found two effective ways to store them.
- My preference is to hang them up out of the way using pants hangers, but often times I haven’t had enough room to do that.
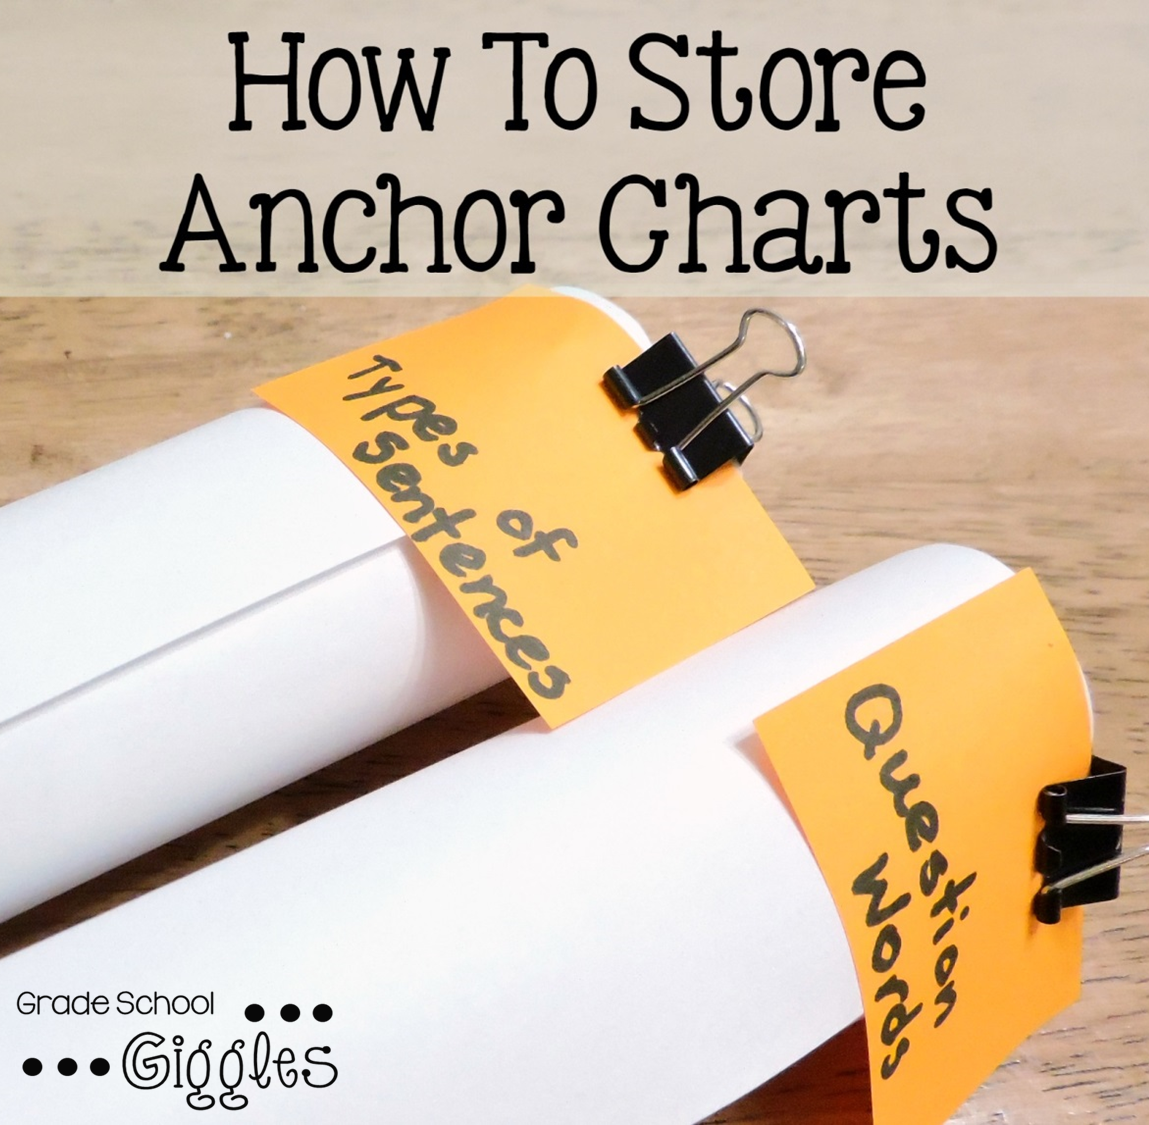
- My second choice is to roll them up, write the topic on a post-it note, and clip it to the end with a paperclip or binder clip. The rolled up charts fit nicely in a tub and the post-it notes let me know what each chart is.
Part 1-Setting Up for Success
Part 2-Making Magnificent Charts
Want more back to school ideas?