Mastering Anchor Charts: Setting Up for Success
*This post may contain affiliate links.
Okay, I have a confession. My handwriting definitely doesn’t look like the penmanship I try to teach my students. I can write neatly…. if I write slowly. When I try to write quickly though my handwriting starts looking somewhat like legible chicken scratches.
I have a hard time trying to teach a lesson and do a lot of writing at the same time. For a long time I would write on my chart paper during my lesson and then just throw it out after the lesson, but then my kids would miss out on having an anchor chart to refer back to.
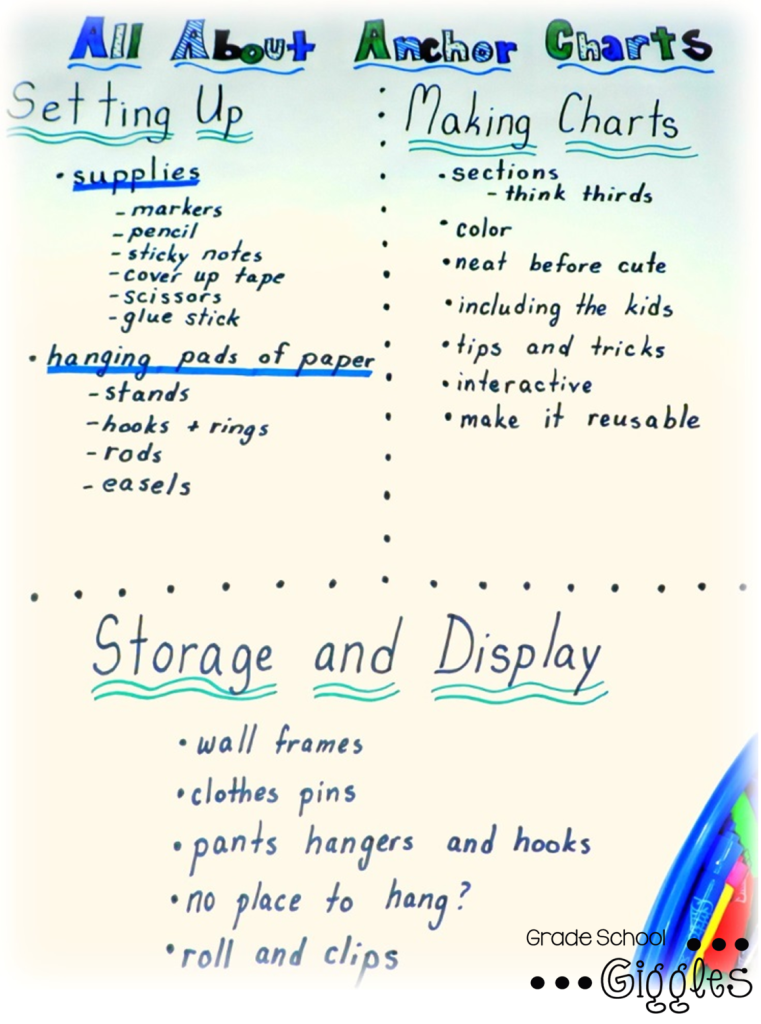
I knew I had to find a better way. So, over the years I spent in the classroom I got better at making anchor charts. My anchor charts still might not be as fancy as some, but they do the job and are attractive, neat, and legible. No more chicken scratch! This post is going to be the first in a three part series all about anchor charts. I’ll be posting parts 2 and 3 soon.
Organizing for Success
It helps to have your materials together. I personally love to use Mr. Sketch Markers because they bring back childhood memories and make me happy. I also use sticky notes, Post It Labeling & Cover Up Tape (for hiding my mistakes), scissors, a glue stick, and occasionally Velcro dots. I like to keep my chart supplies in a basket by my chart paper pad.

Hanging Up Your Pad of Chart Paper
I’ve also found that the way you hang your chart paper is important, especially if you want to write on it while it’s hanging. To write on it you need it to be hanging up against a hard surface or wall. If you want to take it down to write on then you can don’t need to worry about having a hard surface.
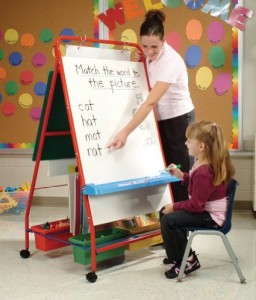
Some of you might be lucky enough to have an awesome chart stand like this, but I never did. Finding a place to hang your pad of chart paper can be a challenge if you don’t have a chart stand, but there are lots of ways to do it. Here are a few ways.
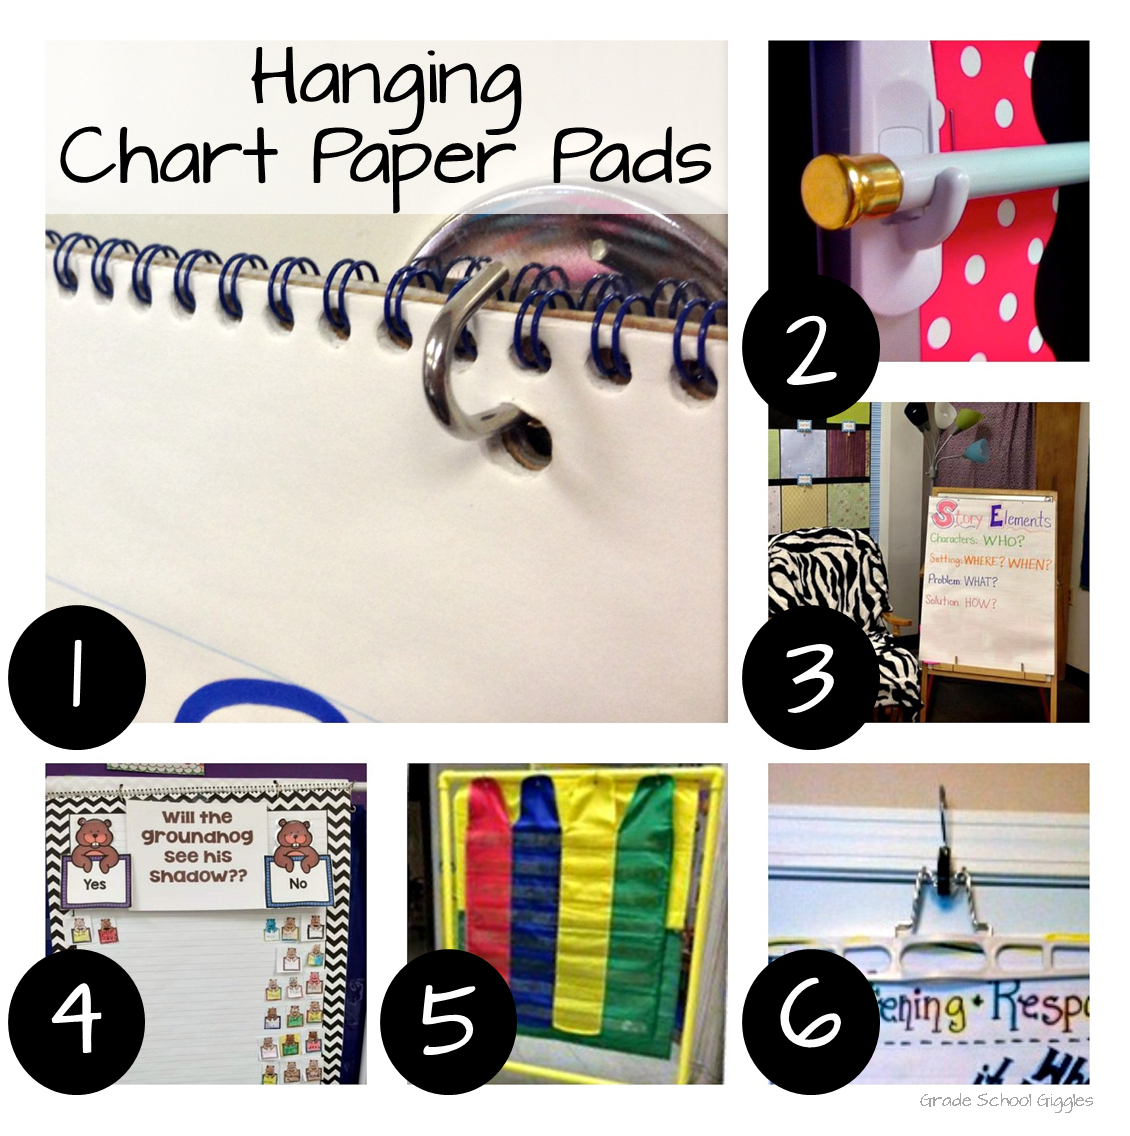
- You can use magnetic hooks on a whiteboard like Marcy at Saddle Up for Second Grade. Easy-peasy. If you have the space on your whiteboard this is a great way to go.
- Sam at Fun With Firsties uses a curtain rod. Just put metal rings on through the holes in the pad of chart paper, slide it on to the rod, and set the rod on top of two hooks. Voila, you’ve got a space saving solution. (You can also skip the curtain rod and just hang the metal rings straight onto the hooks.)
- An easy option is using an easel like Cassie at Adventures in Teaching.
- A clothes hanging rack like Carrie at Adventures in Kinder and Beyond is another easy option.
- If your handy or know someone who is you can build a PVC chart stand like Maggie at Maggie’s Kinder Corner.
- You can also hang the chart paper on a hook using a pants hanger like Sam at Fun With Firsties.
Thanks for visiting. I hope you were able to get some ideas for your own classroom. In parts two and three we’ll cover tips and tricks for making anchor charts and easy solutions to storing and displaying anchor charts. Check out the ride sidebar to add Grade School Giggles to your Bloglovin or Feedly account or to follow by email so you can be sure not to miss out.
Part 2 – Mastering Anchor Charts: Making Magnificent Anchor Charts


Great ideas! Mr. Sketch markers are great for two reasons: 1. They are nice and inky and don’t die like some other markers, and 2. When you are standing close to your poster while writing, they smell GREAT!
Thanks Carolyn,
They do smell great. I used to sniff my work when I was a kid and got to use them. I’d look pretty silly sniffing my anchor charts, but I still like the smell. :)